
Admin User Guide
Changes in creating, administering, editing or revoking permissions should follow Customer’s Internal policies & procedures for obtaining approval prior to making any updates.
User Account Creation
Create Contact
| Instruction | Screenshot |
|---|---|
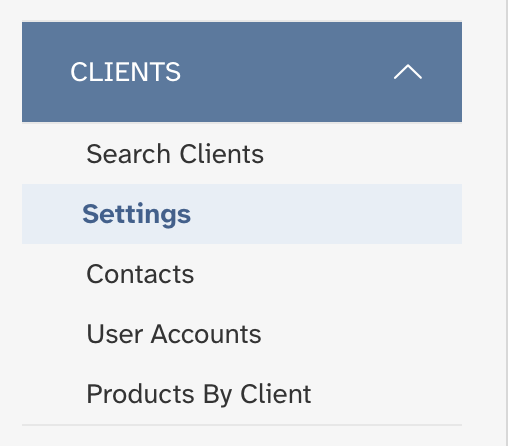
| Click on the Clients tab in the Navigation section, then click Settings. Select the client you want to create the contact on, then open the Contacts tab in Client Settings |
 |
| Click Add contact | 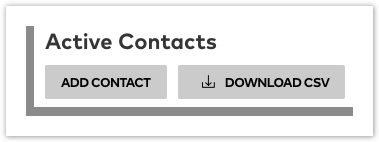 |
| Fill in: Position, First Name, Last Name, Mobile, Email, then click the ‘Populate Address Fields’ button (confirm this address is correct). Click ‘Save’ or ‘Save & Create User’ | 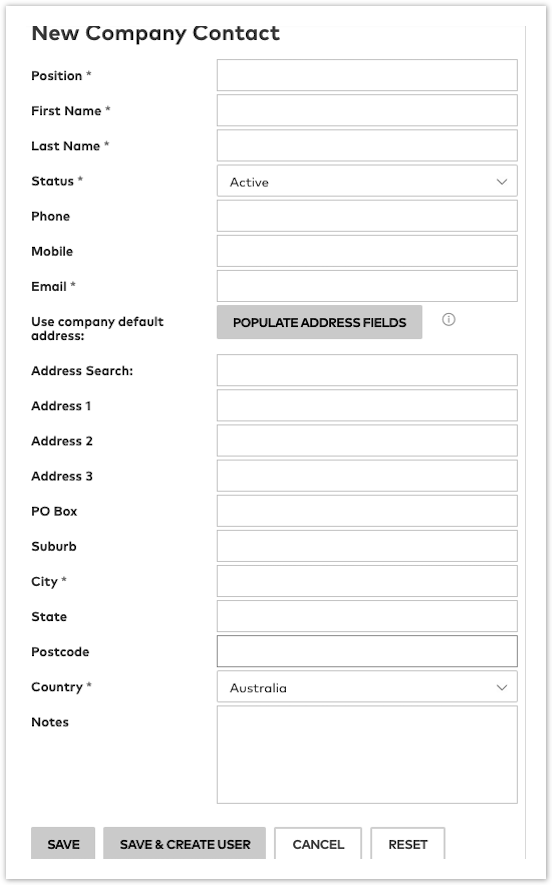 |
Create User Account
| Instruction | Screenshot |
|---|---|
| Click on the ‘User Accounts’ tab, then click ‘Create Account’ | 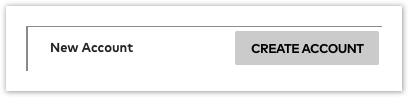 |
| Select the desired contact from the ‘Contact’ drop-down list If the Contact hasn’t been created, the name won’t appear in this list Click ‘Generate Password Suggestion’ |
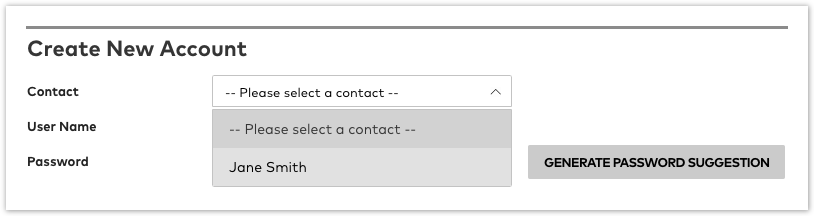 |
| Select which ‘Role(s)’ you wish to provide See below Role section for more information | 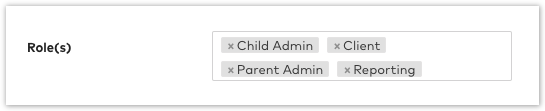 |
| Scroll down and provide the required ‘Permissions’. See below Permissions section for more information | 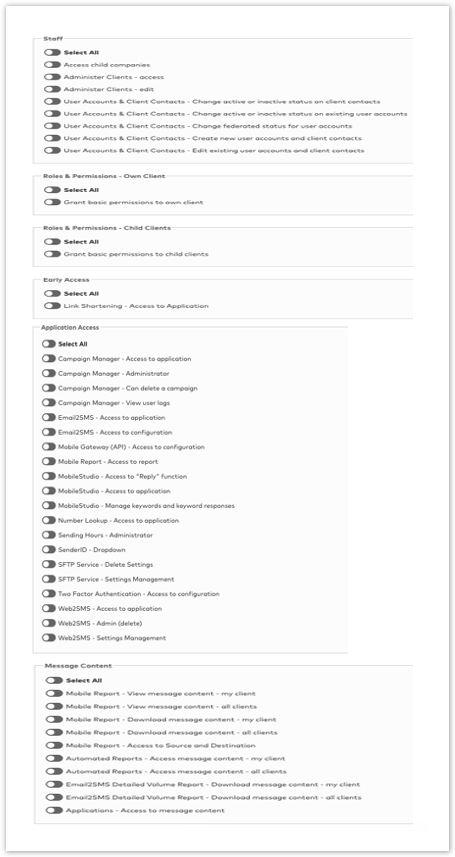 |
| Click ‘Create Account’ |  |
User Account Deactivation
Deactivation is a 2-step process, you need to deactivate the User Account, before deactivating the Contact.
Deactivate User Account
| Instruction | Screenshot |
|---|---|
| Click on the ‘Clients’ tab, in the Navigation section click ‘User Accounts’ | 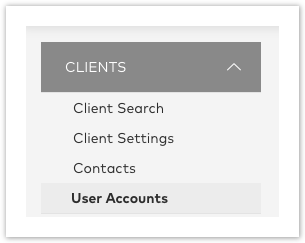 |
| Locate the user that needs to be deactivated, click on their ‘User Name’ Tip: Use the ‘Search’ field to quickly find a user | 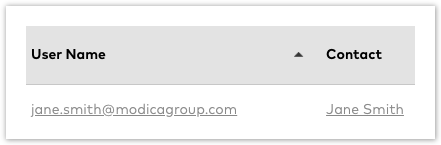 |
| Untick the ‘Active’ tick box | 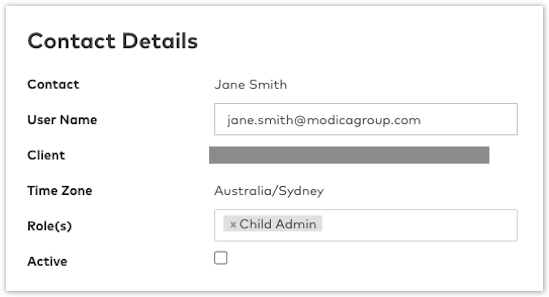 |
| Click ‘Update Account’ |  |
Deactivate Contact
| Instruction | Screenshot |
|---|---|
| Click the ‘Contacts’ tab | 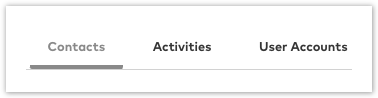 |
| Locate the contact that needs to be deactivated, then click on either their ‘First Name’, or ‘Last Name’ Tip: Use the ‘Search’ field to quickly find a contact | 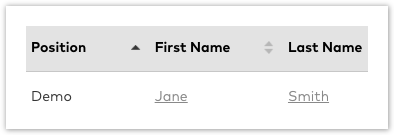 |
| Change ‘Status’ from ‘Active’ to ‘Historical’ | 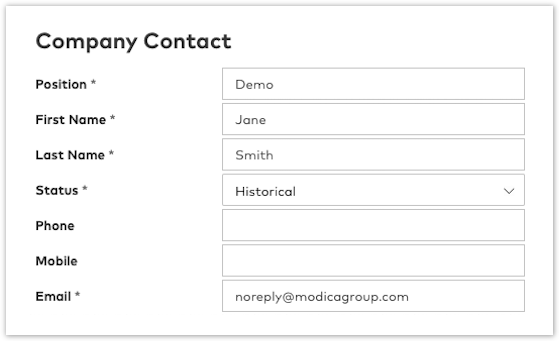 |
| Click ‘Save’ |  |
Moving Users Between Accounts
A ‘User Name’ (email address) may only be used once to identify a user account. This means to move a user between accounts, you need to first deactivate the old account before creating the new account.
Deactivate Account from Existing Child Account
|
| Locate the the user that needs to be deactivated, click on the 'User Name' **Tip:** Use the 'Search' field to quickly find a user | |
| Update the 'User Name' and the 'Email Address' fields to include **.Old** Untick the 'Active' tick box, click 'Update Account' |  |
|
Create User Account in New Child Account
Reactivating a Locked User Account
Entering an incorrect password multiple times will result in the User Account being locked, this can only be unlocked by an Admin user.
Reactivate a Locked User Account
| Instruction | Screenshot |
|---|---|
| Select ‘User Accounts’ from the navigation menu | |
| Toggle ‘Account Status’ from ‘Active Accounts’ to ‘Inactive Accounts’ | 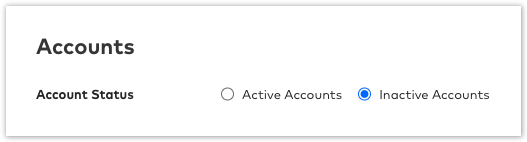 |
| Locate the ‘User Name’ that needs to be reactivated | 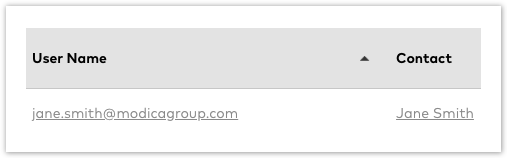 |
| Tick the ‘Active’ checkbox and click ‘Update Account’ | 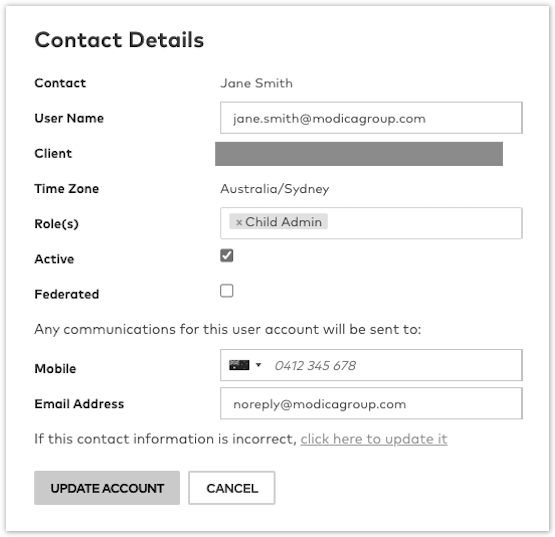 |
| The user will then need to reset their password using Forgotten Password | 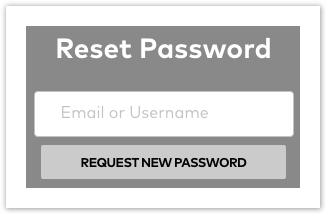 |
Roles
There are 7 roles available to choose from, these roles will automatically apply the required permissions.
Admin - Parent
This role is only relevant if you are using a parent/child account structure (have sub-accounts for separate departments). This permission sits at the parent level account and provides the user access to permissions for all child accounts (sub-accounts) that sit under the parent account.
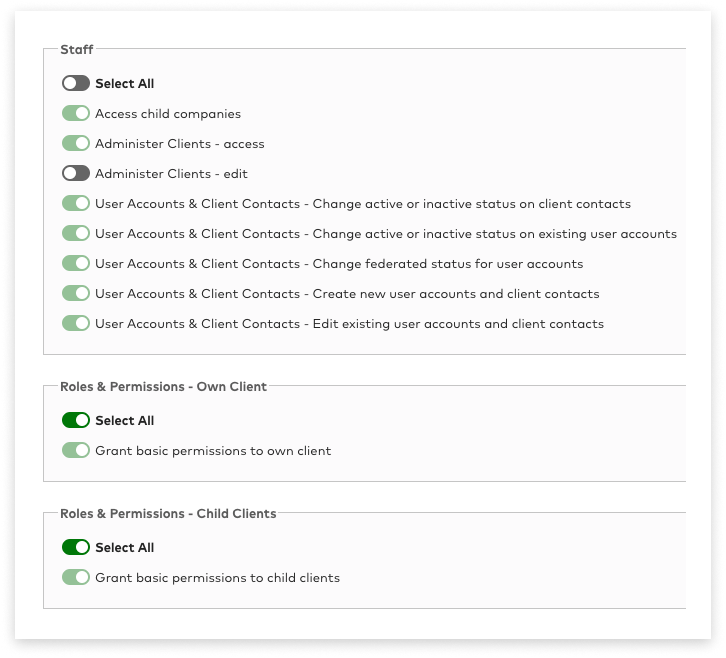
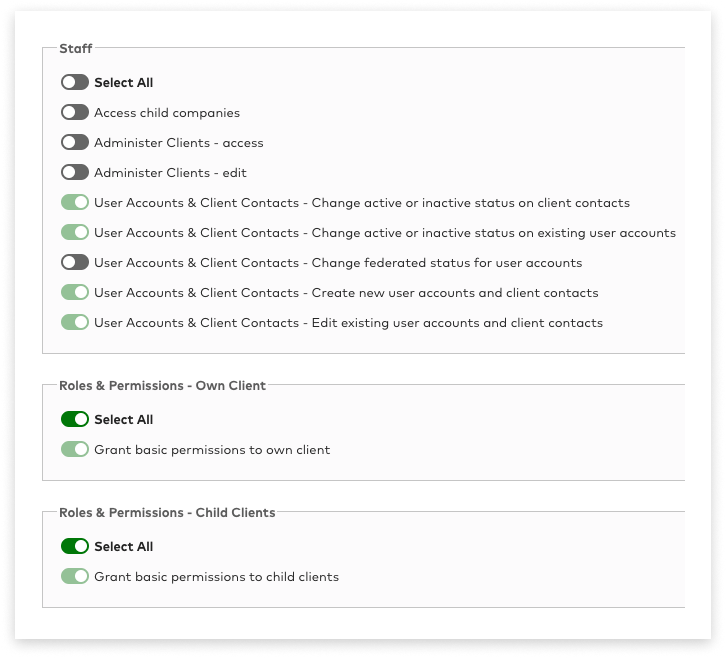
Admin - Child
This role can be used for all account administrators, the permissions included will allow the user to administer user accounts within their own account. Note: Users assigned this role cannot administer user accounts within other child accounts.
Client (Non Admin User)
The Client Role has no permissions assigned to it, it is there to specify that a User Account is a standard User, not an Admin or Reporting User.
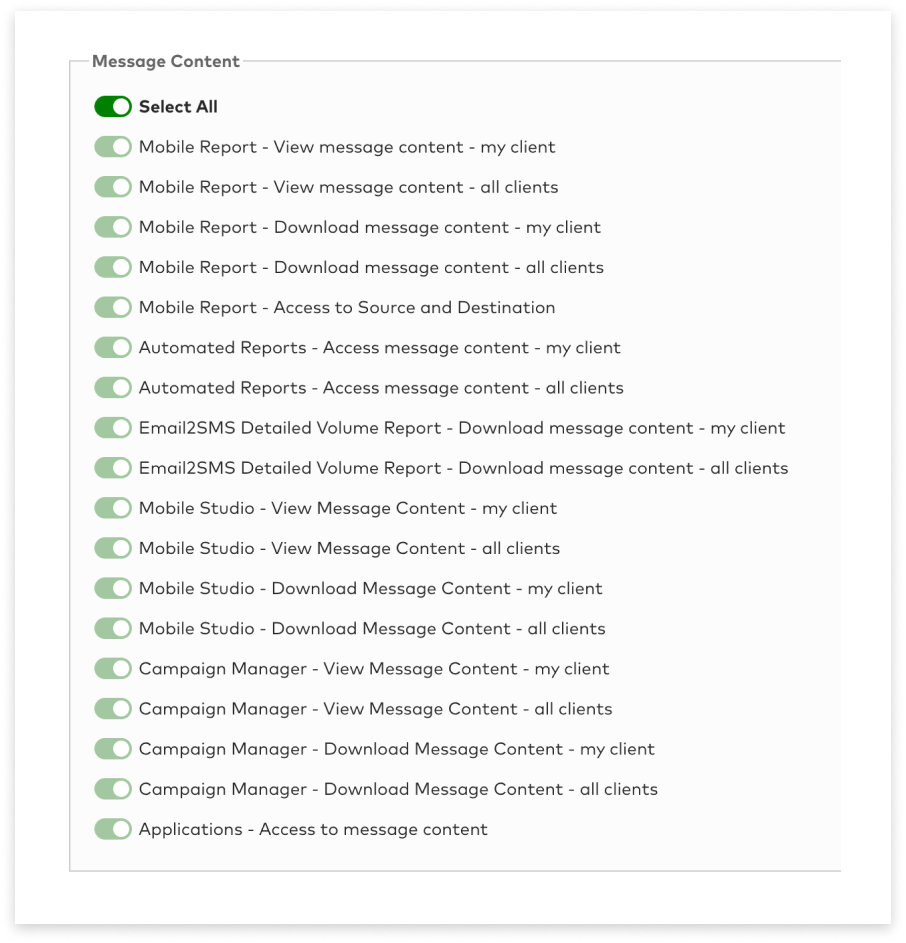
Reporting - Admin
The Reporting role can be assigned to anyone who needs to view or download Mobile reports including the content.
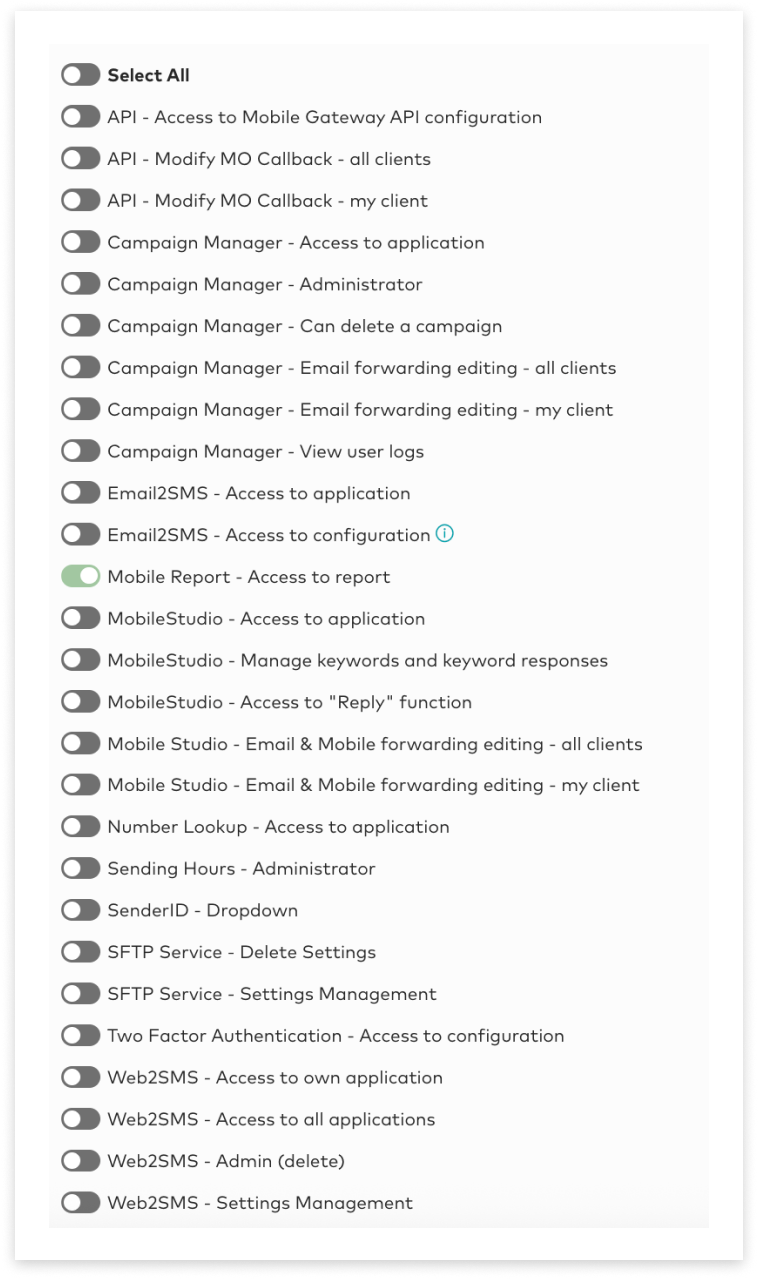
Reporting - Basic
The Reporting - Basic role can be assigned to anyone who requires basic Reporting access (excludes Message Content).
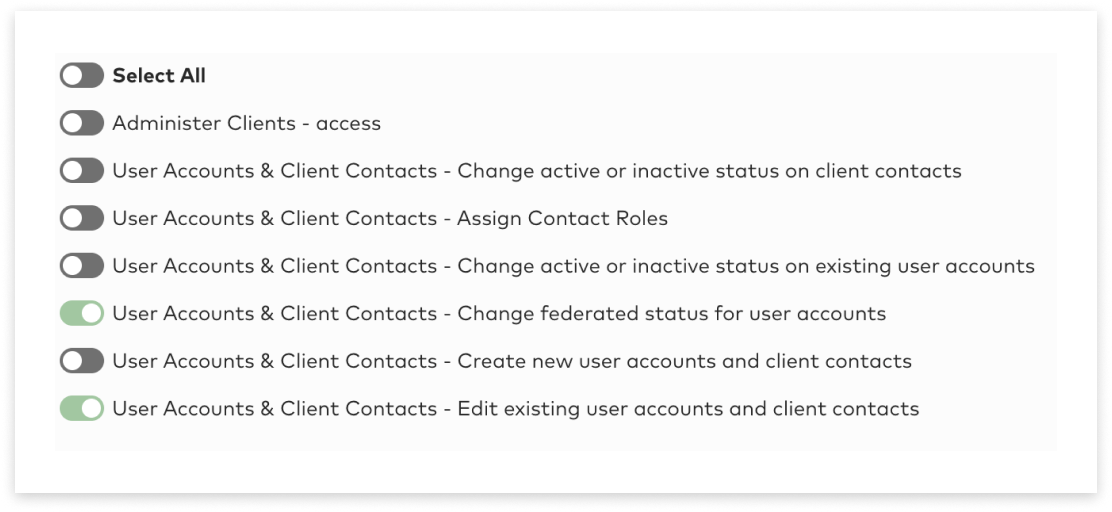
Federated ID Configuration User
The Federated ID Configuration User provides access to set up and configure Federated Access (SSO). The permissions are as follows:
Trial User
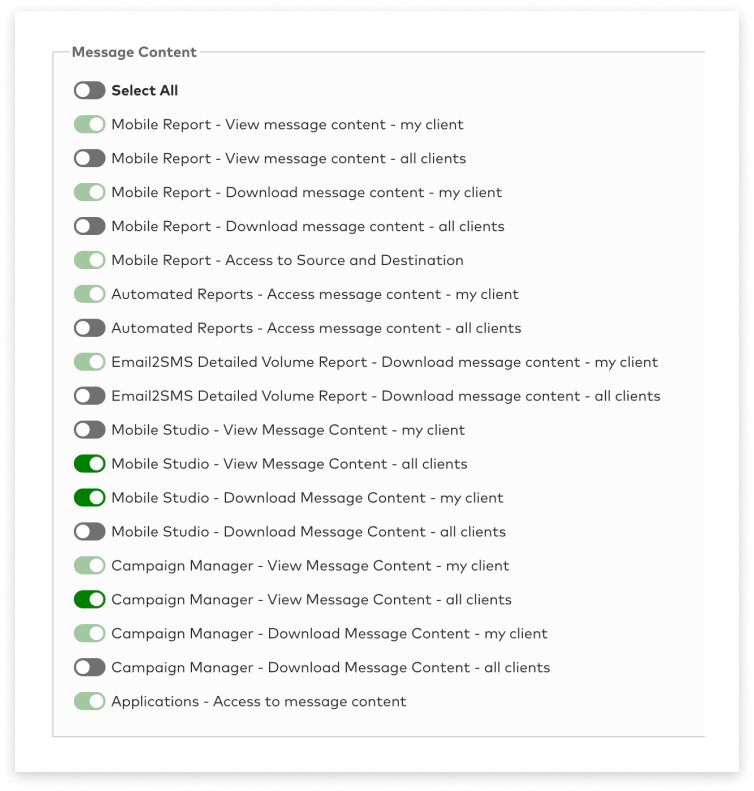
The Trial User role is only used for Non-Production accounts, i.e Customers who are trialling the Optus SMS Suite prior to signing a contract with Optus. There are no Admin permissions or Application permissions, there are only Reporting/Message Content permissions.
Permission Definitions
Below are detailed descriptions of each permission and their actions.
Admin Permissions
Permissions designated to an Admin user:
Admin Permissions
Application Permissions
Permissions to access, configure, or use applications:
API Configuration
| Permission | Definition |
|---|---|
| API - Access to Mobile Gateway API configuration | Provides the user access to configure the API |
| API - Modify MO Callback - all clients | The ability to configure the MO Callback URL for all APIs for all child accounts (only relevant if using a Parent/Child Structure |
| API - Modify MO Callback - My clients | The ability to configure the MO Callback URL for a specific account only |
Campaign Manager
| Permission | Definition |
|---|---|
| Campaign Manager - Access to application | Provides users with the ability to access Campaign Manager |
| Campaign Manager - Administrator | Can create Message Templates - Access is normally provided to Admin users unless specifically requested |
| Campaign Manager - Can delete a campaign | Provides users with the ability to delete campaigns – Access normally provided to an Admin level user |
| Campaign Manager - Email forwarding editing - all clients | This provides access to enable email forwarding for all clients (Parent/Child structures only) |
| Campaign Manager - Email forwarding editing - My clients | This provides access to enable email forwarding for a specific client |
| Campaign Manager - View user logs | Provides users with the ability to view campaigns sent by user – Access normally provided to an Admin level user |
| SenderID - Dropdown | The ability to view registered Sender IDs in the drop down menu |
Email2SMS
| Permission | Definition |
|---|---|
| Email2SMS - Access to Application | This provides access to all Tabs except for Domain Configurationn |
| Email2SMS - Access to configuration | This enables a user to edit the domain configuration |
Note: A User does not need to have permission to this application in order to use this feature, permission should only be given to a user if they need to view or make changes to the Email2SMS Domain configuration
Mobile Studio
| Permission | Definition |
|---|---|
| MobileStudio - Application access | Provides the user with the ability to access the Mobile Studio application |
| MobileStudio - Manage keywords and keyword responses | Provides the user with the ability to configure the Mobile Studio application to the account specifications |
| MobileStudio - Access to “Reply” function | Provides the user access to be able to reply to a contact via the Mobile Studio Application |
| MobileStudio - Email & Mobile forwarding editing - all clients | This provides access to enable email and mobile forwarding for all clients (Parent/Child structures only) |
| MobileStudio - Email & Mobile forwarding editing - my client | This provides access to enable email and mobile forwarding for a specific client |
2FA API Configuration
| Permission | Definition |
|---|---|
| Two Factor Authentication API Configuration | Provides the user access to configure the API |
Web2SMS
| Permission | Definition |
|---|---|
| Web2SMS - Access to own application | This provides access to the application for a specific client |
| Web2SMS - Access to all applications | This provides access to all Web2SMS applications (relevant for accounts using Parent/Child structure only) |
| Web2SMS - Admin (delete) | Provides users with the ability to delete “non shared” contacts from the account global contact list Access normally provided to an “admin” level user |
| Web2SMS - Settings Management | This provides users the ability to create Web2SMS templates Usually this permission is only given to Admin users unless specifically requested |
| SenderID - Dropdown | The ability to view registered Sender IDs in the drop down menu |
Reporting Permissions
Permissions for Reporting. If only some permissions are required they can be toggled on/off where required: