Salesforce CRM
TXTinIT contains powerful criteria-based functionality that lets you use your Salesforce data to automate messages in an unlimited number of creative ways.
Overview
The plugin supports sending SMS or text messages worldwide, including NZ, Australia, the US, and the UK.
Here are some ways our customers use TXTinIT for Salesforce:
- Let customers know when their support cases are started or resolved.
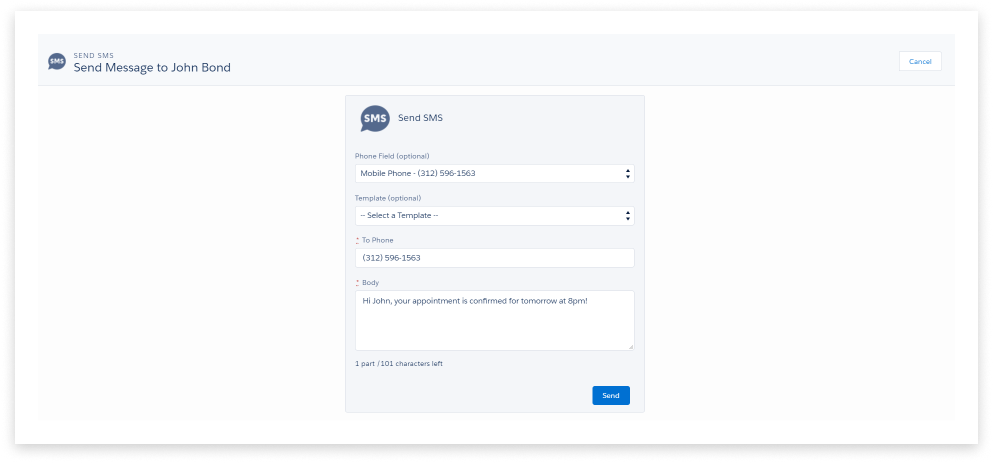
- Remind your customers about their appointments.
- Instantly notify employees of major events.
Transform your Salesforce communication by installing the free plugin. Visit the Salesforce AppExchange for TXTinIT to get started now.
Installation
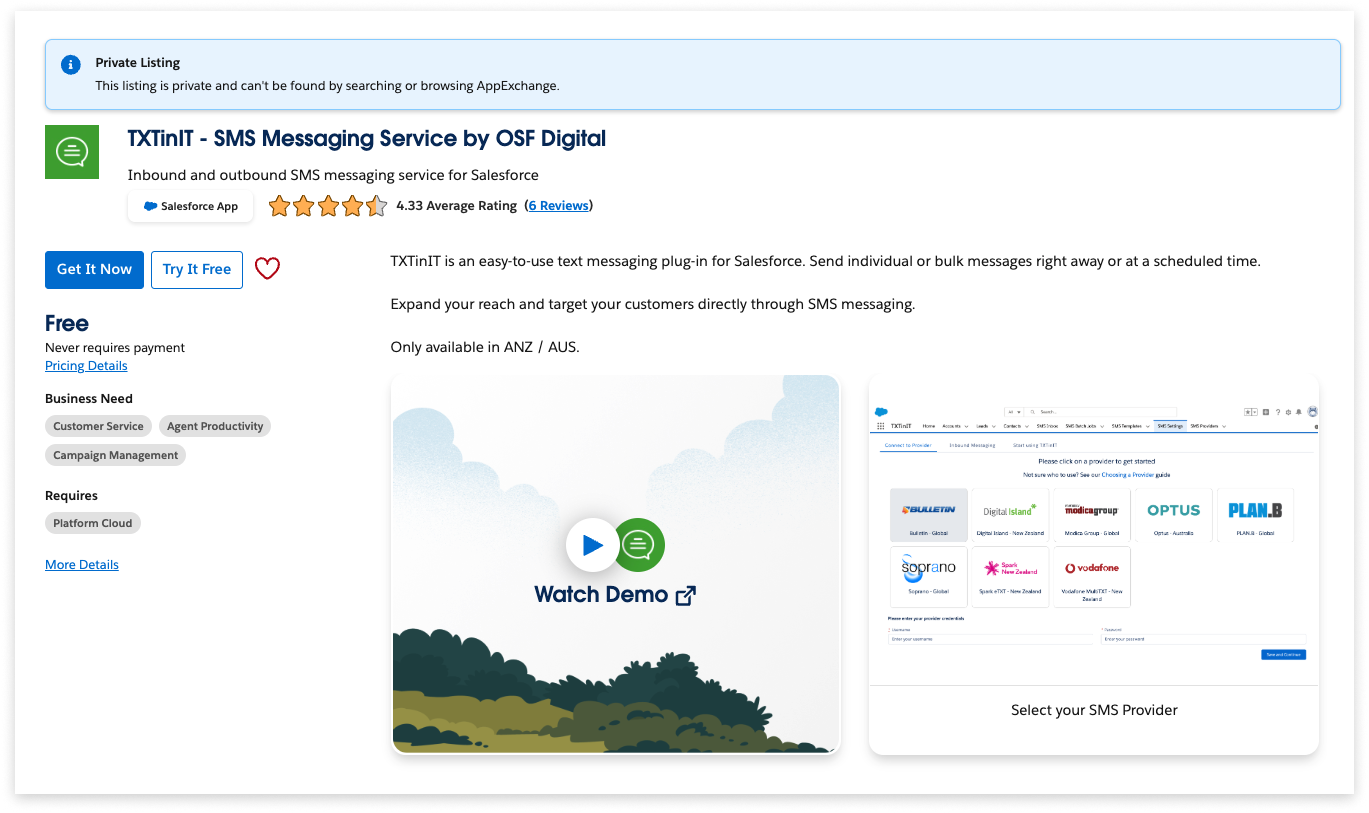
- Follow this link to the TXTinIT Salesforce AppExchange page. Click the button that says ‘Get It Now’.
TXTinIT is currently a private listing; searching the AppExchange will not reveal it to you.
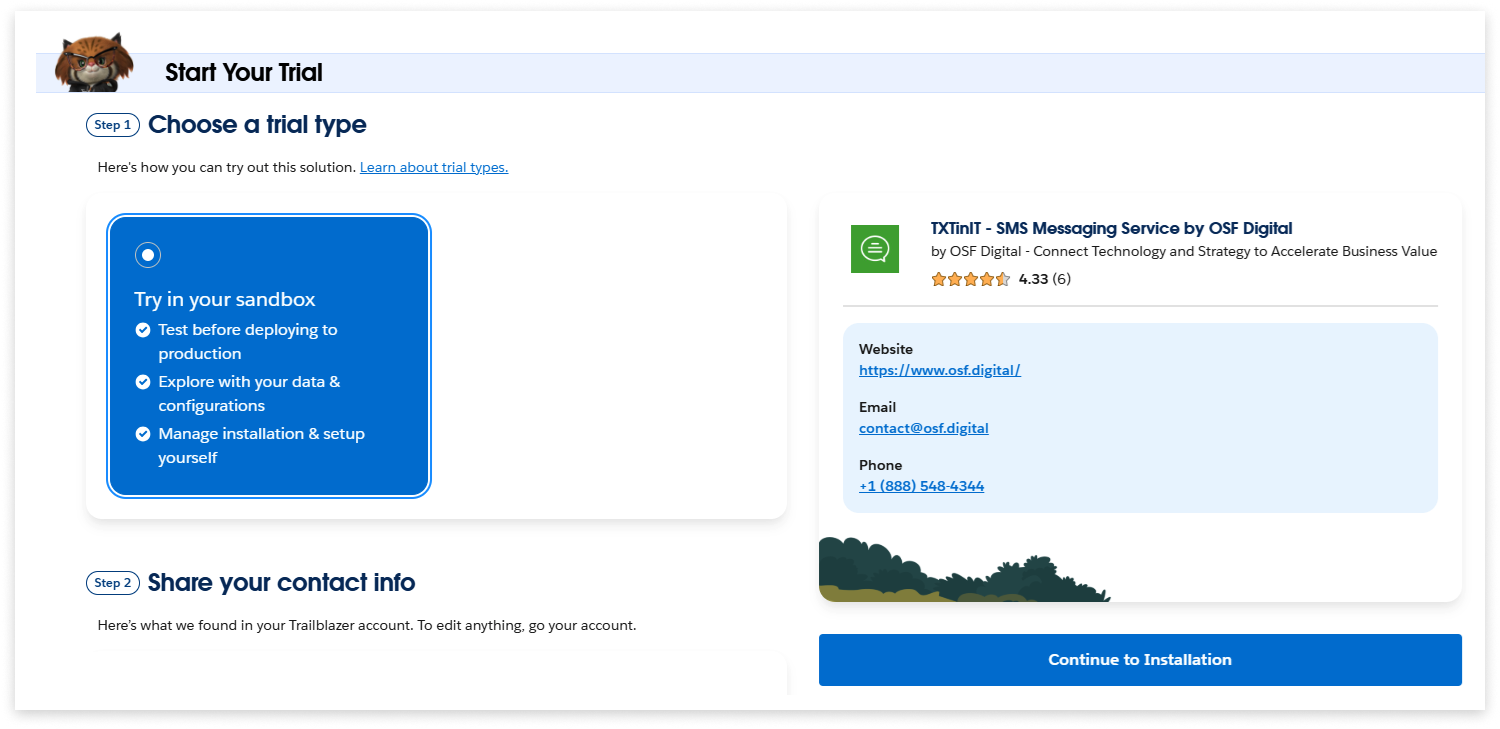
- Click ‘Continue to Installation’
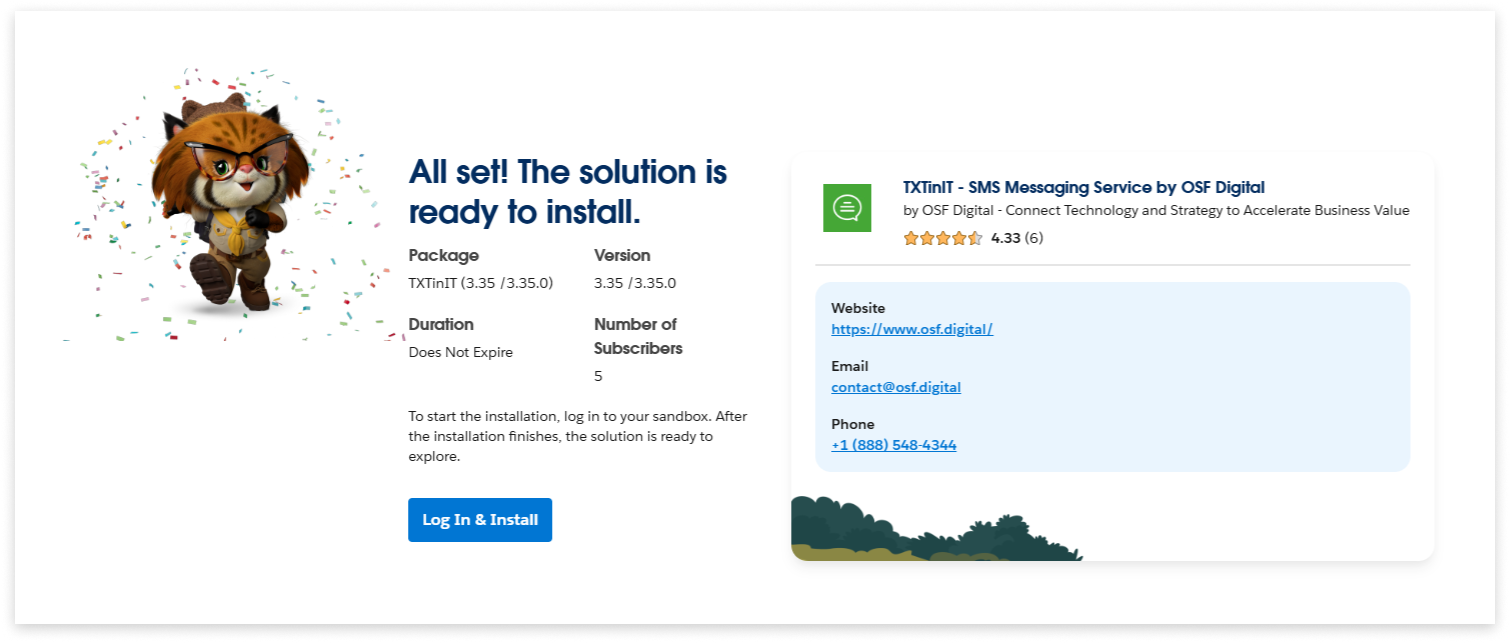
- Click ‘Log In and Install’
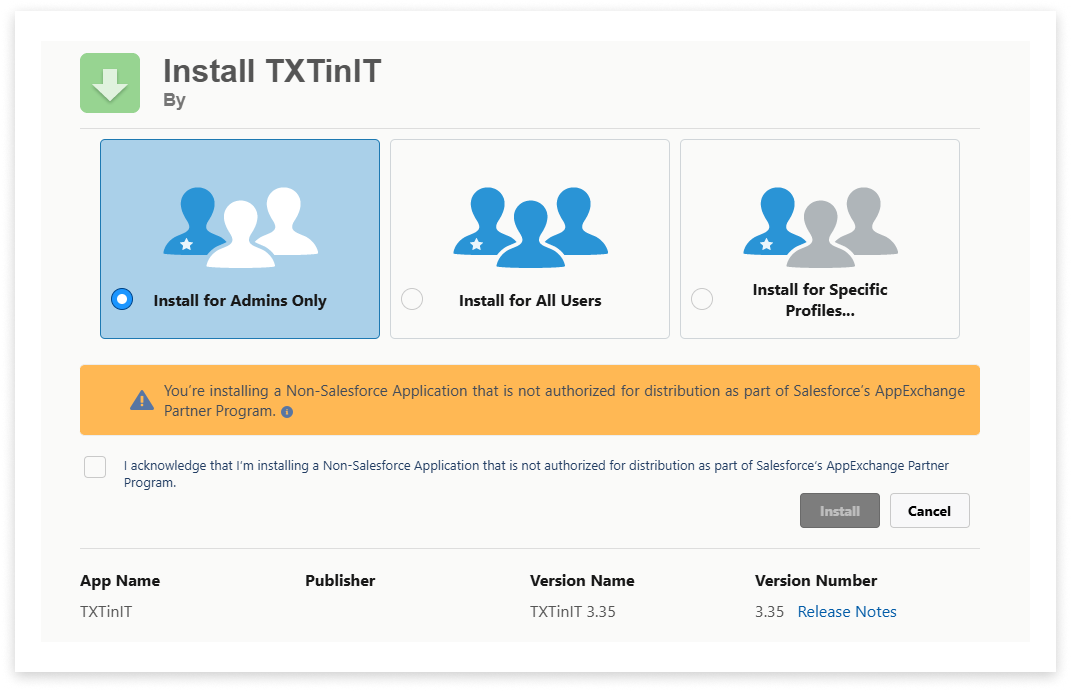
- Decide who to install TXTinIT for, which will determine your number of licenses.
- Approve third-party access:

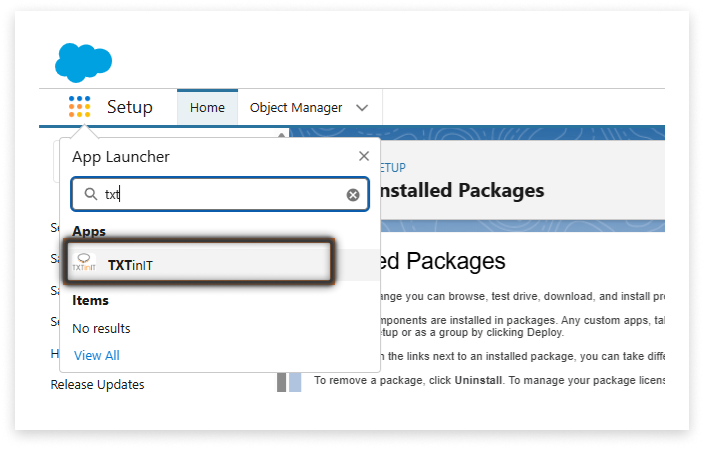
- Open the TXTinIT app from the App Launcher (if you do not see it, you may not have the TXTinIT license assigned to your user account)
-
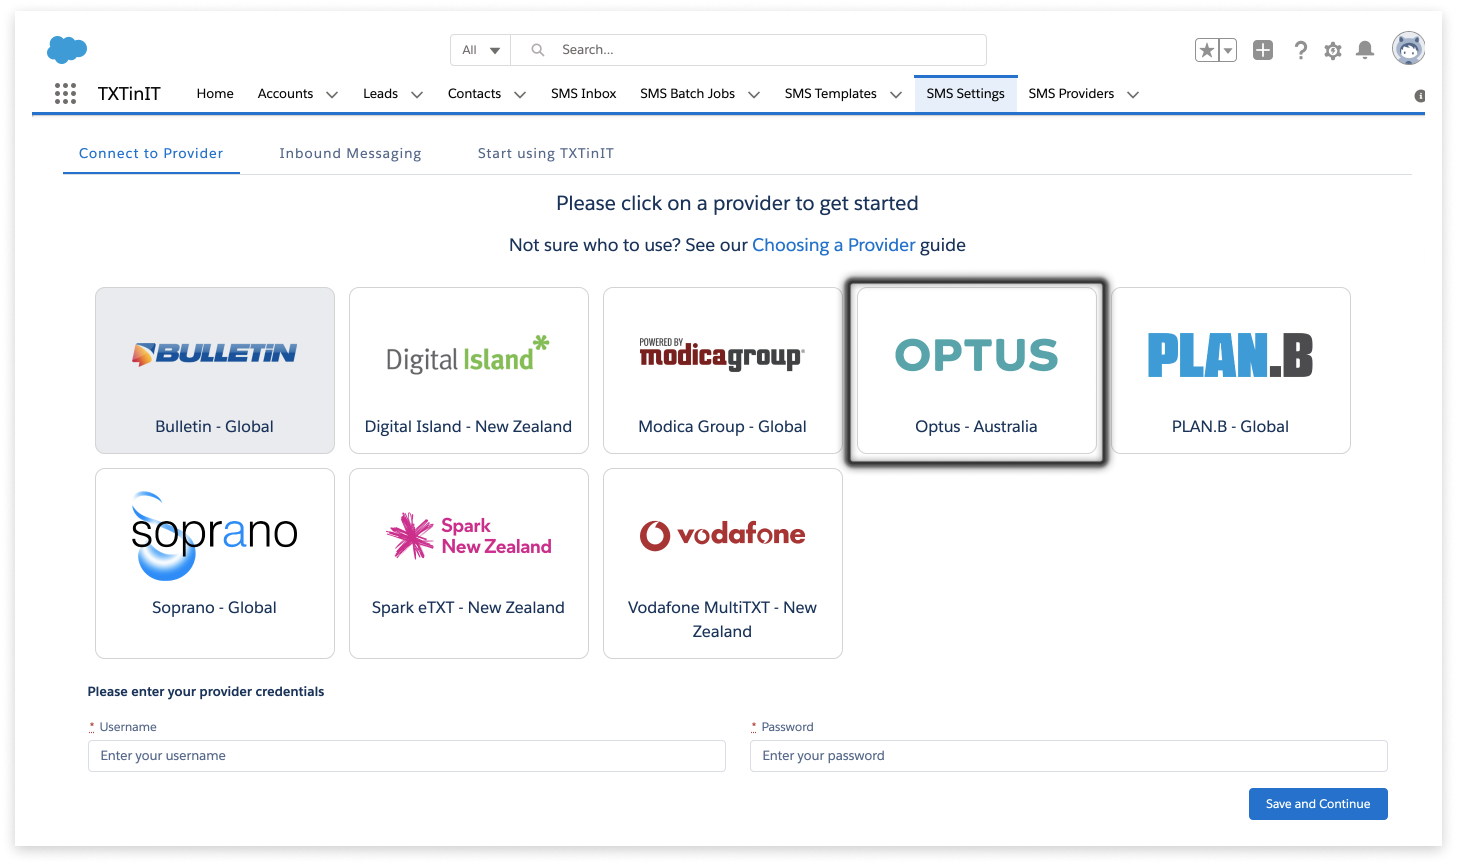
Navigate to SMS Settings
-
Get started; you’ll first require an SMS Gateway Provider account with Optus SMS Suite.
-
Select Optus
-
Type in both your SMS Provider username and password (this may require API credentials to be set up and used in place of username & password)
-
Save and Continue
-
Proceed through Authentication and Allow Access
-
Send a test message; enter your mobile number, type your test message (remember that character limits apply), click Send!
-
After receiving your test message, click ‘Start Sending’
Configuration
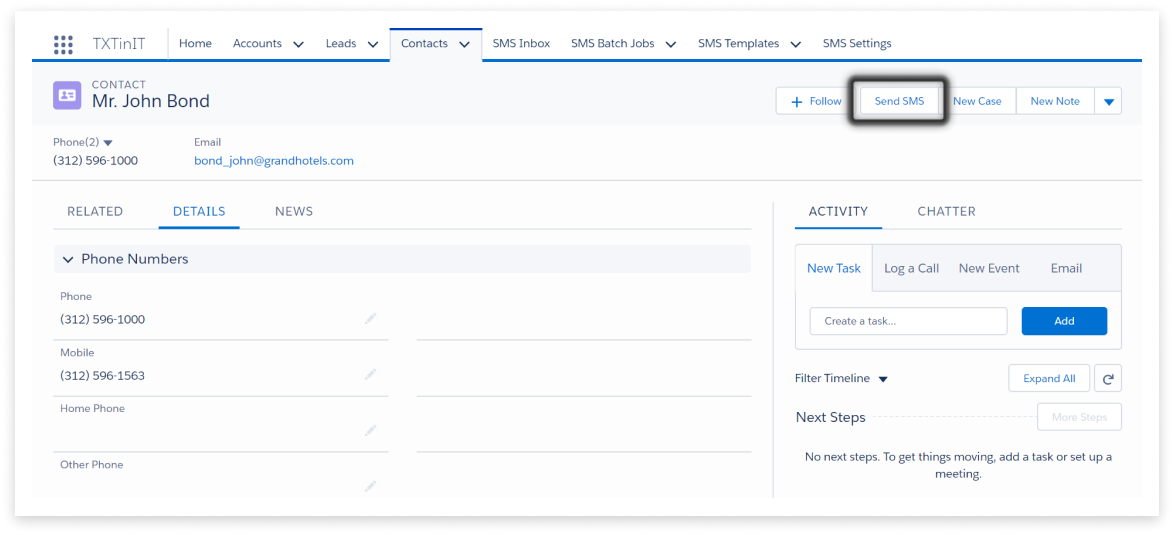
- Add Send SMS buttons against Lead, Contact, Case etc via the Object Manager:
-
Search for the Case Object
-
Click on the Case Object to bring up configuration details
-
Open a Case Page Layout by clicking on Page Layouts and selecting one to add the button
-
Click on ‘Mobile & Lightning Actions’
-
Look for the Send SMS button and drag it to the Salesforce Mobile and Lightning Experience Actions
-
Save, wait a few minutes, and refresh the page. If it is still not displaying, try CTRL + F5 to hard-refresh the page.
-
Confirm button-placement within the Page Layout
- SMS Inbox lets you manage all your text messages with ease.

- Add texting to a Process Builder
-
Click the Settings icon to go to Setup
-
Type ‘Process Builder’ in the Setup Quick Find Box’
-
Create a New process
-
Name and define your process, then select the starting point e.g ‘When a record changes’ - Save
-
Click ‘Add Object’
-
Select the Object; e.g. if we wanted to send a message when a support case closed, we would chose ‘Case’
-
Chose when the process should run, e.g. created or edited.
-
Define Criteria for this; click the first node, select the criteria required to execute actions, e.g. ‘Conditions are met.’
-
Set the conditions, e.g. [Case]. Status, equals, picklist, closed.
-
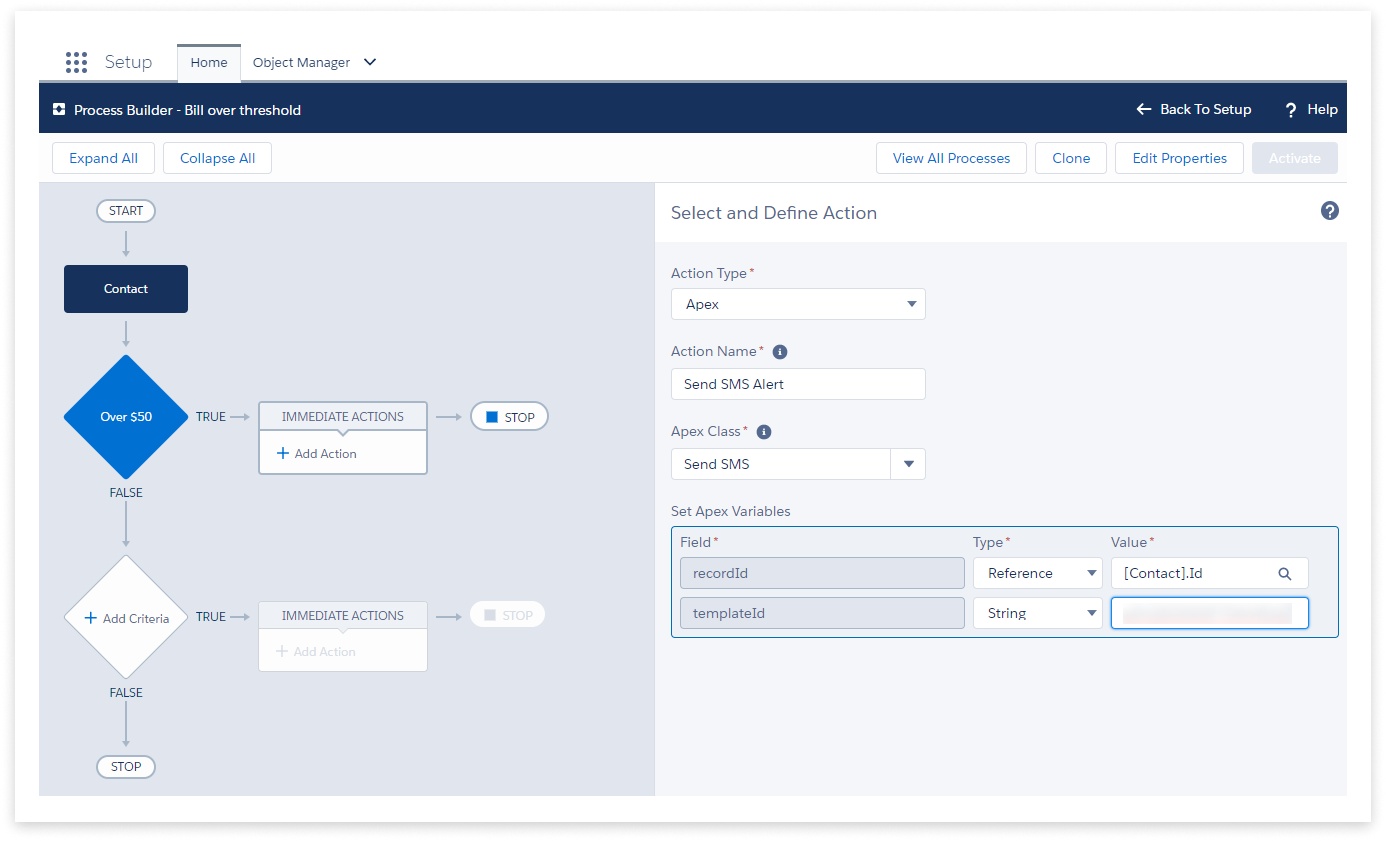
Select and define an Action; click ‘Add Action’ in Immediate Actions box.
-
In ‘Action Type’ select ‘Apex’ and in the next field, type ‘Send SMS’ and select ‘Send SMS Apex Class.’ Set Apex variables and Save.
-
Click ‘Activate’ in the top right.
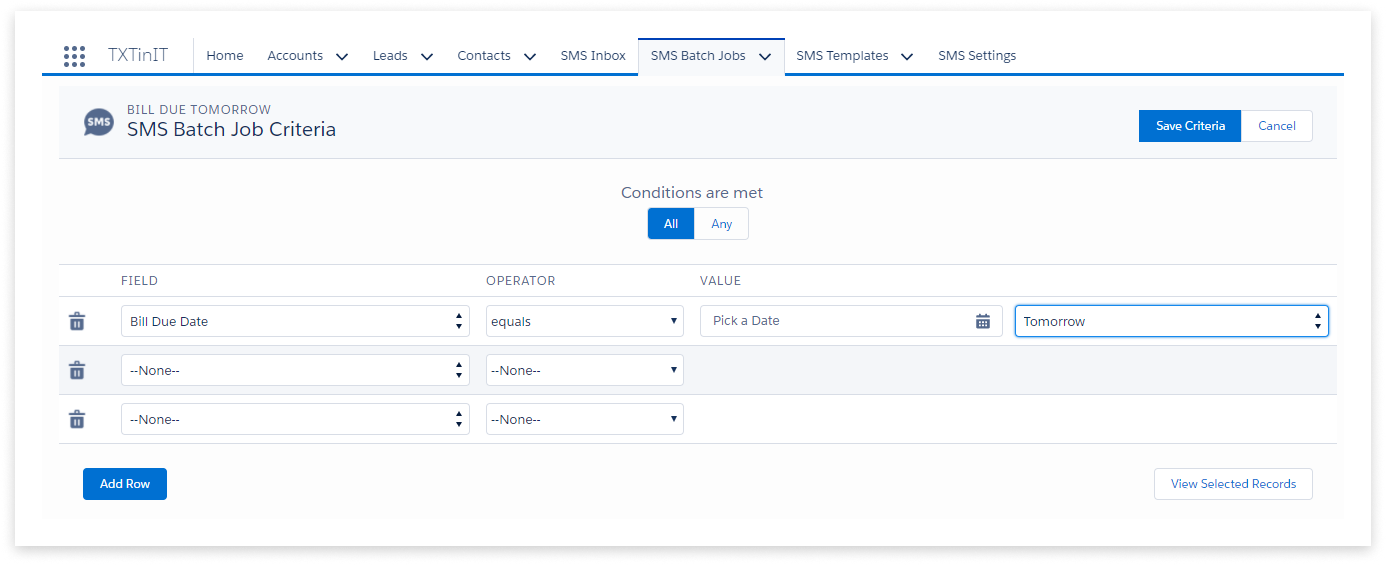
- Batch jobs (with support for scheduling) lets you send messags in bulk that match criteria
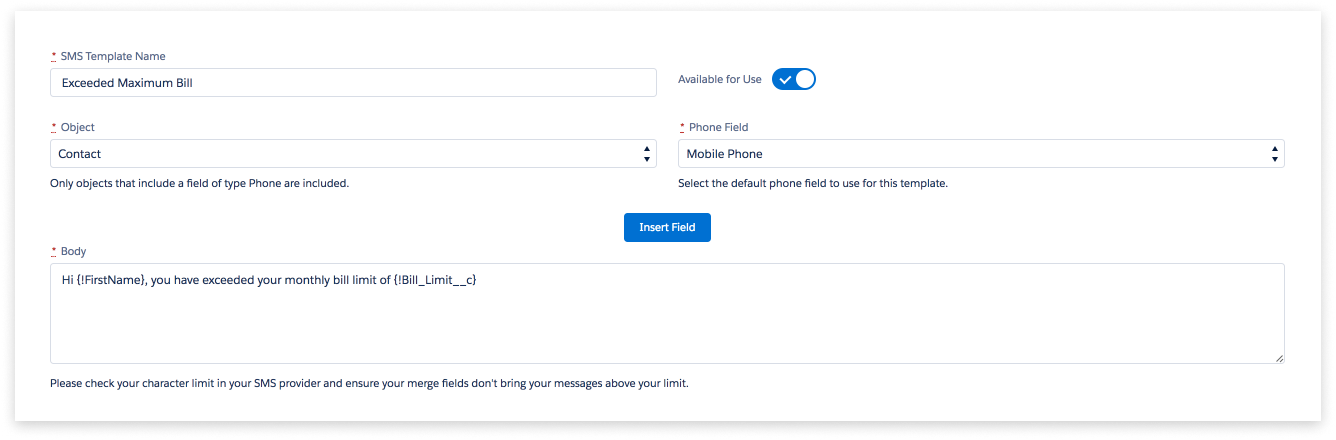
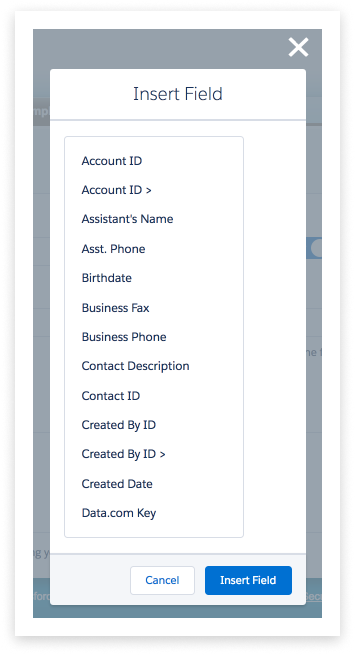
- Define templates with Salesforce merge fields
- Click ‘Insert Field’ to insert one of many merge fields:
Additional Details
-
Salesforce: Fully integrated with Salesforce. Messages sent as activities. Can be integrated with both standard (Lead/Account/Opportunity) and custom objects.
-
Criteria Based Sending: TXTinIT allows you to automate messages based on Salesforce record criteria.
-
Global Reach: Connectivity backed by Global Messaging Companies.
-
Two-Way: Send and receive SMS messages directly out of and into Salesforce.
-
Schedule Messages: Schedule future sends at a specific time with ease.
-
Bulk Sends: You can easily send to all filtered results in a Salesforce list view.
-
Template Messages: Organise and share message templates with the rest of your team using our intuitive mail-merge functionality.
-
Shortcode & Virtual Numbers: Shortcodes are supported in NZ, Australia, UK, and USA. Virtual numbers are available in select regions.
-
Supports Integration with Process Builder: Our integration with Salesforce Process Builder lets you add text messages to any existing automated processes.